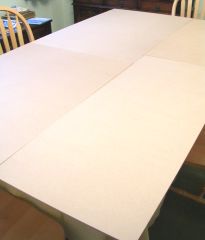
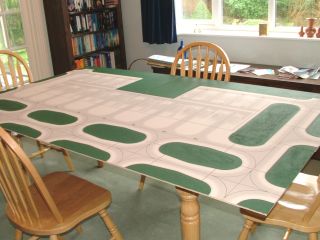
Due to the large size of this set, it was laid out on four
pieces of board. The board was 6mm MDF cut into sections 48x110,
48x96, 74x110 and 74x96cm. The boards were arranged so that
the corners were staggered in the centre. |
|
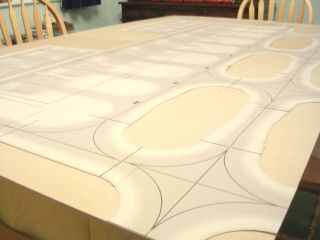
All of the sheets were cut out and laid on to the boards in
the correct places, to check the fit and alignment. The areas
to be painted in between the sheets were lightly outlined
with a pencil. |
| |
|
|
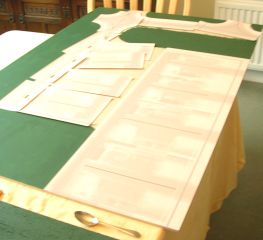
The areas between the sheets were painted "grass green",
and then the sheets were laid out once again to check their
fit. To make things easier, construction was carried out one
board at a time. |
|
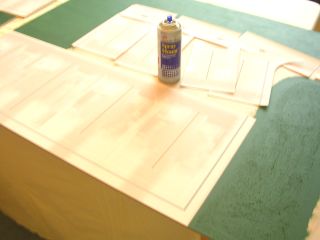
The sheets were glued to the board one at a time using a spray
mounting adhesive. The alignment of each sheet was checked
carefully, both with its neighbours and with the edges of
the board. |
| |
|
|
When all the sheets had been glued, the grass areas where
no buildings were to be placed had some paint mixed with sand
applied, to give a more realistic texture. |
|
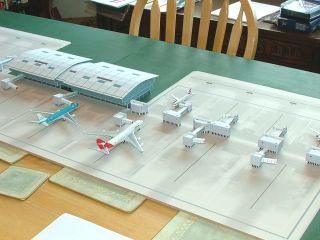
The buildings and accessories were laid out. For ease of later
storage, we didn't fix the buildings to the baseboard, but
only to each other. |
| |
|
|
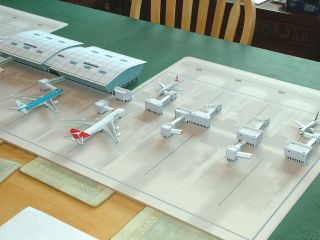
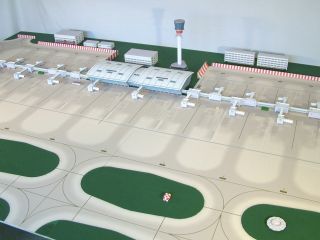
The
pier components were laid out to fit with the parking stands
and jetways, using the concrete block grid as a guide. The
distances between them were measured so that the correct
lengths of walkway could be made.
|
|
We built the required lengths of walkway and then glued all
of the pier sections together in the correct sequence. We
then attached the jetways and checked them against the parked
aircraft. Two of the jetways were attached directly to the
front of the terminal. |
| |
|
|
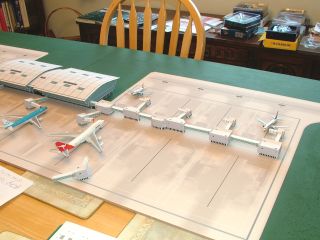
Other buildings and accessories were placed around the layout
to give a more realistic display. |
|
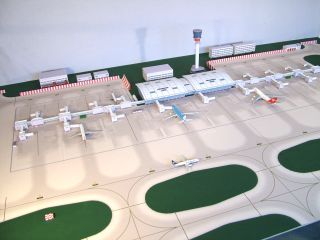
Model aircraft were added so that we could take publicity
photos and illustrations for the website. |

